Folding a Hexagon

This is a simple and fun way to fold paper or fabric to create a six sided shape suitable for dyeing a kaleidoscope using the pieced paper technique taught by Marjie McWilliams in her Quilt University Shibori II class. Folding wet fabric can be difficult to say the least, so practice with paper first until you are comfortable with the folding technique. To make the job easier, make sure you press the folds down hard – the back of a fingernail works well.
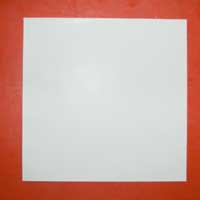
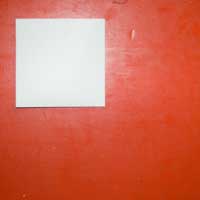
A blank piece of paper
STEP 1. Start with a blank piece of paper. I used a square here but a rectangle will work just as well. The piece of fabric I used in the final example was rectangular.
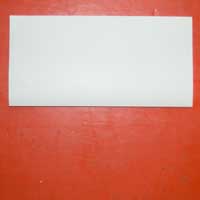
Fold the sheet in half
STEP 2. Fold the sheet in half.
Fold the sheet in half again.
3. Fold in half again to determine the center point of the sheet.

Now you have your center point you can unfold the last (Step 3) fold. At this stage for super accuracy you can measure off 30 degree increments or carefully fold by eye the next two folds:
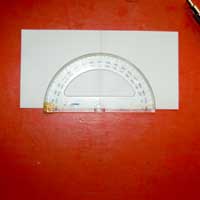
Mark the fold lines.
STEP 4. I used a protractor lined up with the center point and marked with pencil points at 30 degrees along the circumference, then with a rule pivoted on the center point, and passing through the pencil points, made a mark on the edge of the paper for the fold line.
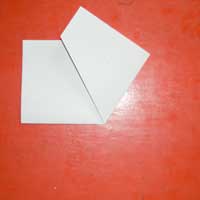
Fold back along the first new fold line at 30 degrees.
STEP 5. Fold in half again as per STEP 3, then carefully fold back from the center to the first 30 degree fold marker as shown above.
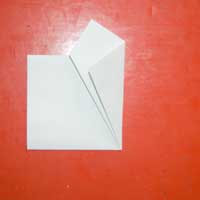
Fold the right corner in.
STEP 6. Then fold the right corner inwards carefully from the center to the second fold marker as shown in 6, lining up with the folded edge on the left (the top fold wouldn’t sit down flat for the camera without something to hold it down, which would have got in the way, but it really DOES line up with the lower fold edge!!)

At this stage you can flip the project over and repeat steps 5 and 6 on the other side. There is no need to mark the fold lines as you can use the folds you have already made to line up on.
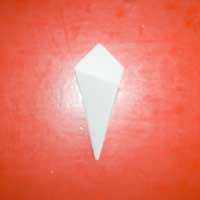
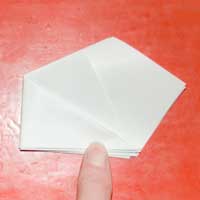
Folds repeated on the second side.
STEP 7. Your project should look similar to this at this stage – kite shaped.
Fold the corner in.
STEP 8. To make your first hexagon fold the sharper point of your kite shape over to meet the corner of the 2nd fold line (NOT the free edge).
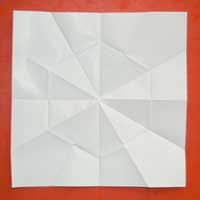
Unfold to reveal your center hexagon.
INTERMEDIATE: Unfold to reveal your center hexagon!

At this stage you can stop if you wish, or continue to repeat the hexagon folds for the rest of your paper or fabric.

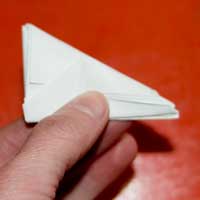
Refold to STEP 8.
STEP 10. Refold along your existing fold lines to the STEP 8 stage. The inner right angle triangle formed by the last fold is your master shape.
Fold all the extra paper into the center triangle.
STEP 11. Fold all the outer paper over the inner triangle in an accordian fold, matching the fold lines of the inner triangle. Press down hard.
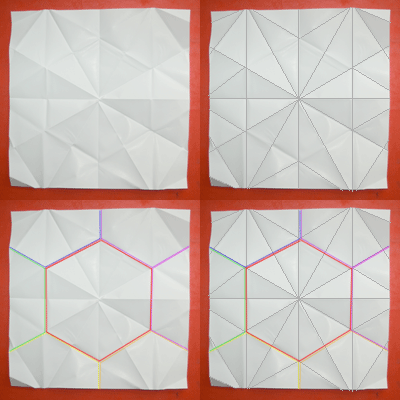
Unfolded - the finished kaleidoscope shape.
Unfolded – the finished kaleidoscope shape. You can see from this which segments will be facing into each other, and which ones will need the dye/paper.

The paper master is an almost indispensable aid when folding and applying the dye to the fabric. You can make notes on it as joggers for patterns and paper placement – highly recommended when overlapping pieces as you can’t always tell from the dye coming through from the other side which order the shapes should be in.

The easiest way to apply the paper pieces is with the fabric folded to STEP 7 and simply turn the folds like the pages of a book to place the pattern pieces. Remember to confine your pattern to the inner triangle if you want the true kaleidoscope effect. To make the pattern stronger on the outer part-hexagons, you can carefully mirror the inner pattern on the other side of the STEP 8 fold line.
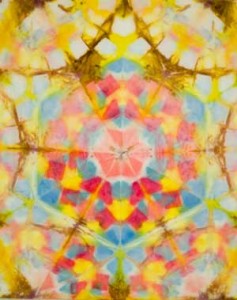
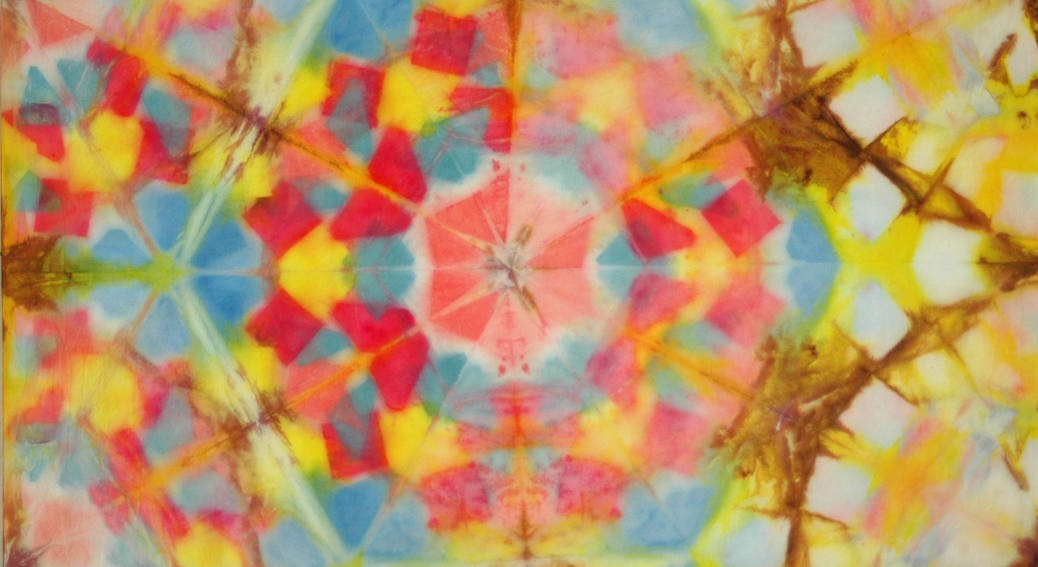
A finished Kaleidoscope.
A finished Kaleidoscope dyed on fabric.

For practice, you could draft your pattern in pencil or felt pen on the inner triangle of a paper master and carefully transfer it to the other segments using a light box or window.

This fabric piece was done for Marjie Mcwilliam’s Shibori II class at Quilt University. It only used 4 sets of shapes for each colour – I should have used at least 6. There were a few other tricks used in the dyeing process and the best place to learn them is to take Marjie’s class – they really are a lot of fun!!!
Leave a Reply